 Metalico Cowl {knitting pattern}
 There's A Chill in DeAire {blanket knitting pattern}
 Free: Quirky Quick Knit Scarf Knitting Pattern
 Fandago Cowl {free crochet cowl pattern}


Thursday
Jun032010
I just want to say thank you
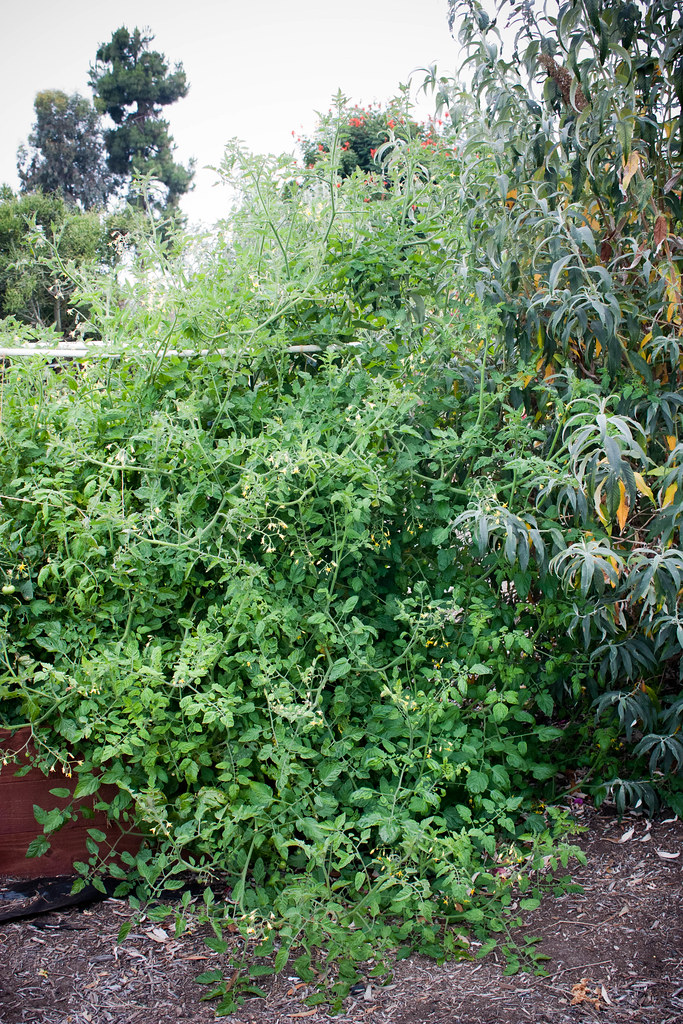
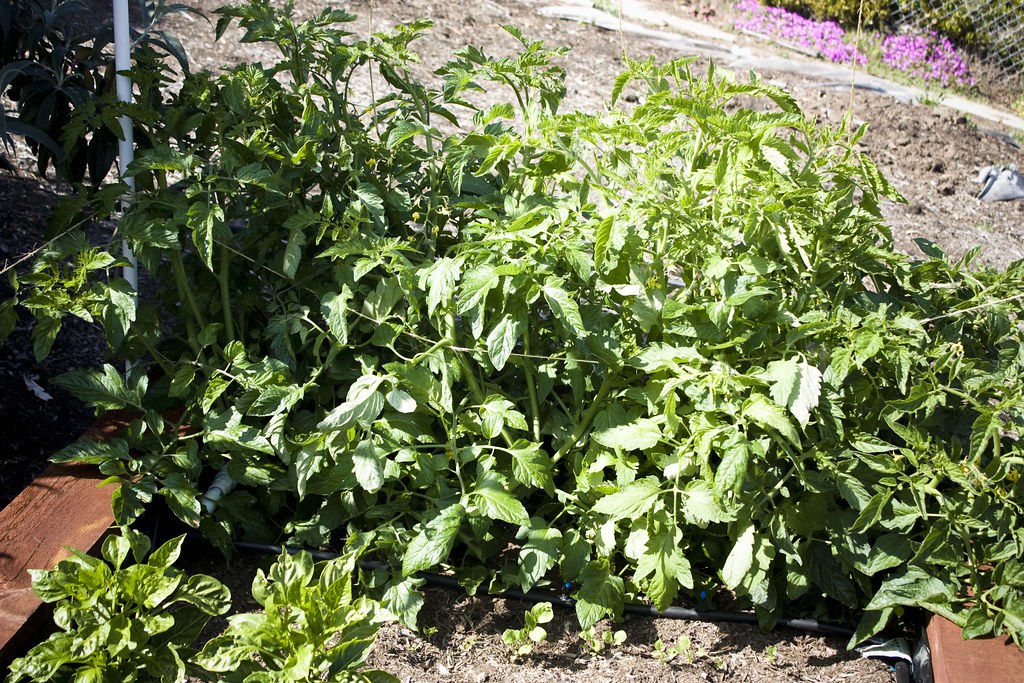
...to the world's most insane seven foot tall tomato plant for finally giving me five nearly ripe tiny tomatoes.
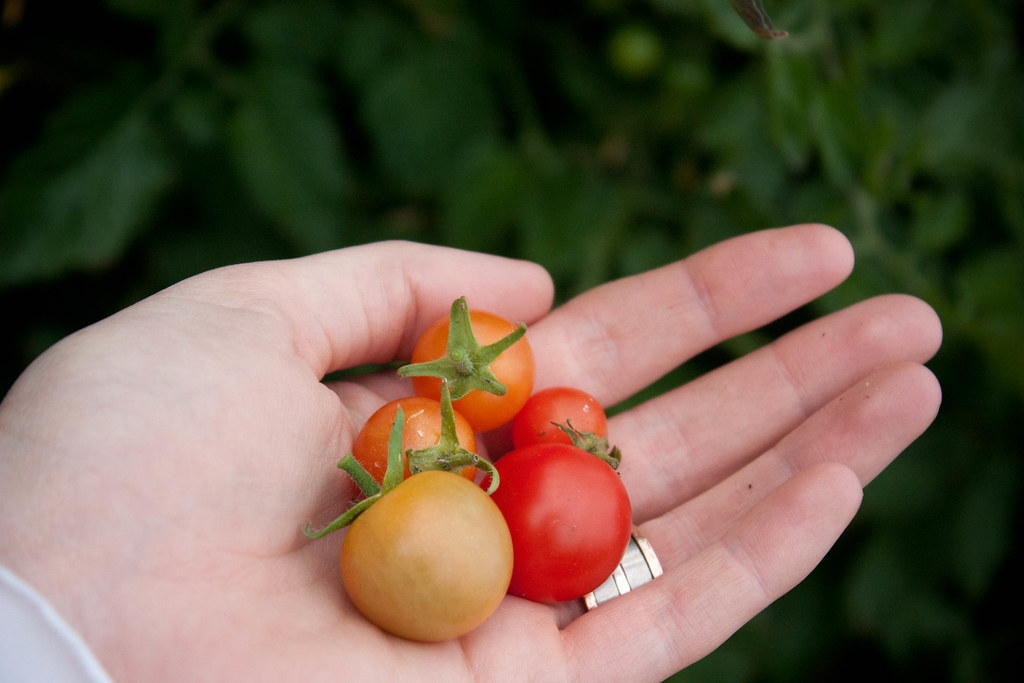


...to the world's most insane seven foot tall tomato plant for finally giving me five nearly ripe tiny tomatoes.

That's what I think every time I walk out my backdoor and see this plant. I am always amazed that plants like this really do grow in my garden and not only do they grow, they thrive.
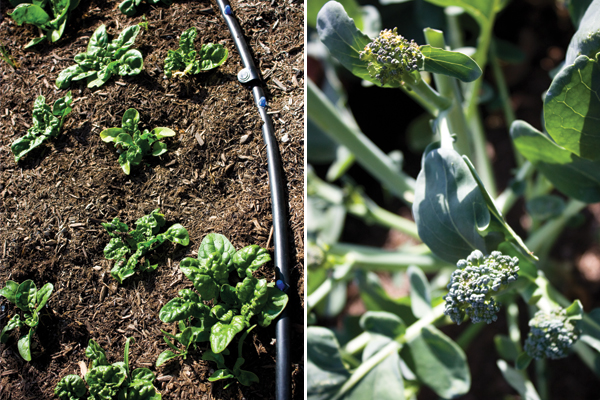
Remember when we built our raised vegetable garden? Well... It's working! I have food growing in my yard. I love it, a lot. The spinach plants are doing really well and I sampled a little leaf today. The broccoli has taken off too. The variety we have though doesn't yield the big heads of florets like you see in the grocery store. As a result we missed a bit of our crop because we were letting them get big, but then they went to flower and turned bitter. We read up on when to trim the broccoli plants and promptly went down there and chopped, chopped, chopped!
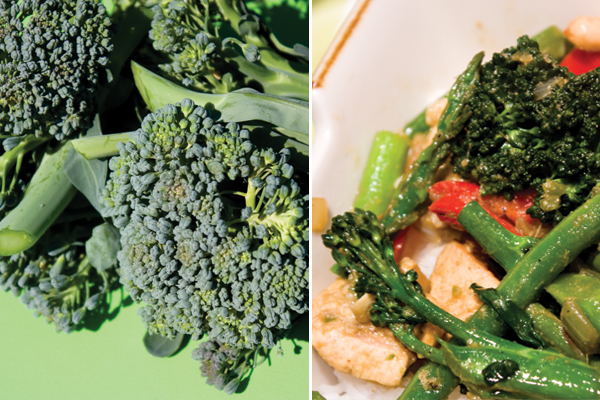
That's our harvest of broccoli and we cooked it up in a stir fry. Yum! Now I'm waiting for some tomatoes. Look at these beasts! Oh, my!
Raised Vegetable Garden, Part 3
Getting soil and plant crops
See Part 1 here.
See Part 2 here.
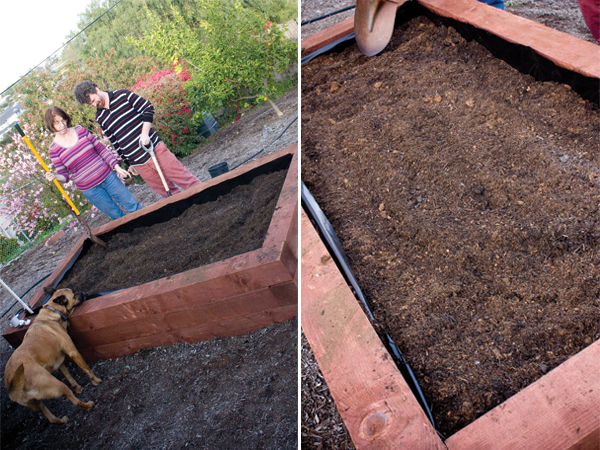
Now comes the fun part, playing with dirt and planting seeds! We used a mix of garden soil, compost, peat moss and manure. The entire bed took about 36 cubic feet of this mix. We broke it down like this, 12 cf of garden soil, 12 cf of compost, 9 cf peat moss and 3 cf of manure. We layered about a third the different ingredients in the bed at a time and mixed them together with a garden fork. Once that was done I couldn't wait to get planting.
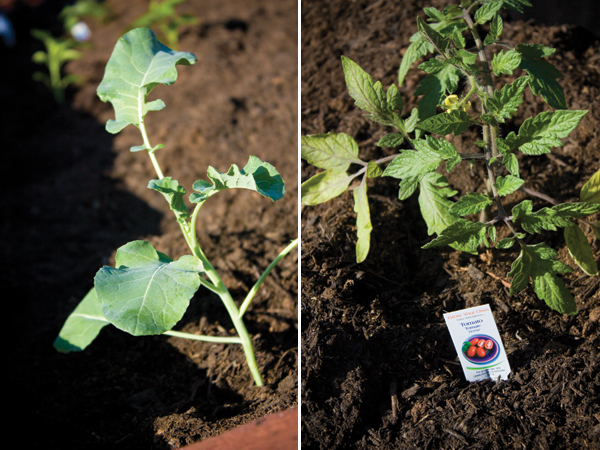
We bought some small plants that were already started. Things like tomatoes, bell peppers and broccoli. The rest of the crop we started from seed. Our final planting consisted of eggplants, scallions, spinach, hot peppers, three varieties of tomatoes, green bell peppers and four heads of broccoli. I can't wait to see the crops start sprouting and flowering!

Raised Vegetable Garden, Part 2
Cutting the lumber and assembling the bed
See Part 1 here.
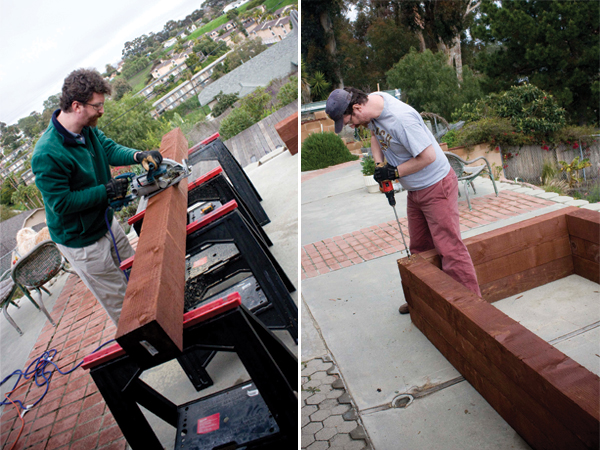
To get the log cabin effect we have with the boards we needed to cut three boards in half. We measured to the middle and marked the cutting line on all four sides. Since we do not own a saw big enough to cut through the wood in one pass Thomas cut one side, then we rotated the board and he cut again. Once the cuts were made we assembled the vegetable bed on the patio to make sure it fit together the way we had hoped. It did!
Before moving the lumber to the lower part of the yard we pre-drilled all of our assembly holes. Using an 18" 1/4" drill bit we made three pilot holes in each corner of the bed, one directly in the corner and one 8" in from each edge. Next we made the holes larger with an 18" 1/2" drill bit which will accommodate the rebar. The 18" drill bit isn't long enough to penetrate all three boards. Not to worry, this is good! That means what looks like the top in this photo is really going to be the bottom of the garden and vice versa. And that also means all the rebar is hidden from view and your garden will look hardware free!
Take the time to mark the boards in their current order. Label which board goes where so after you've moved the boards they'll be in the right place and your drill holes will line up perfectly. Now, it's time to move the boards into position. Have I mentioned how heavy 6x6 lumber is? I haven't? Yeah, well it is. Really. Heavy.
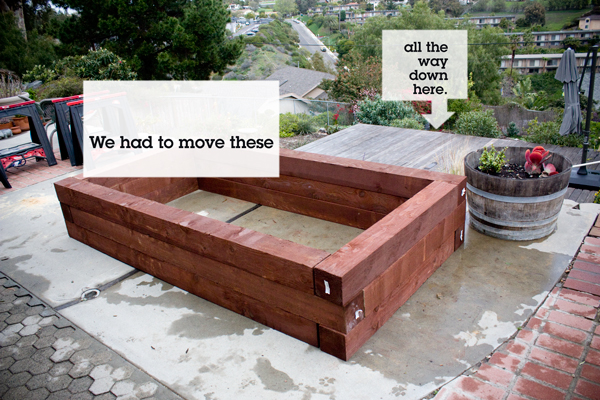
And we had quite a hike to take with our boards. Phew.
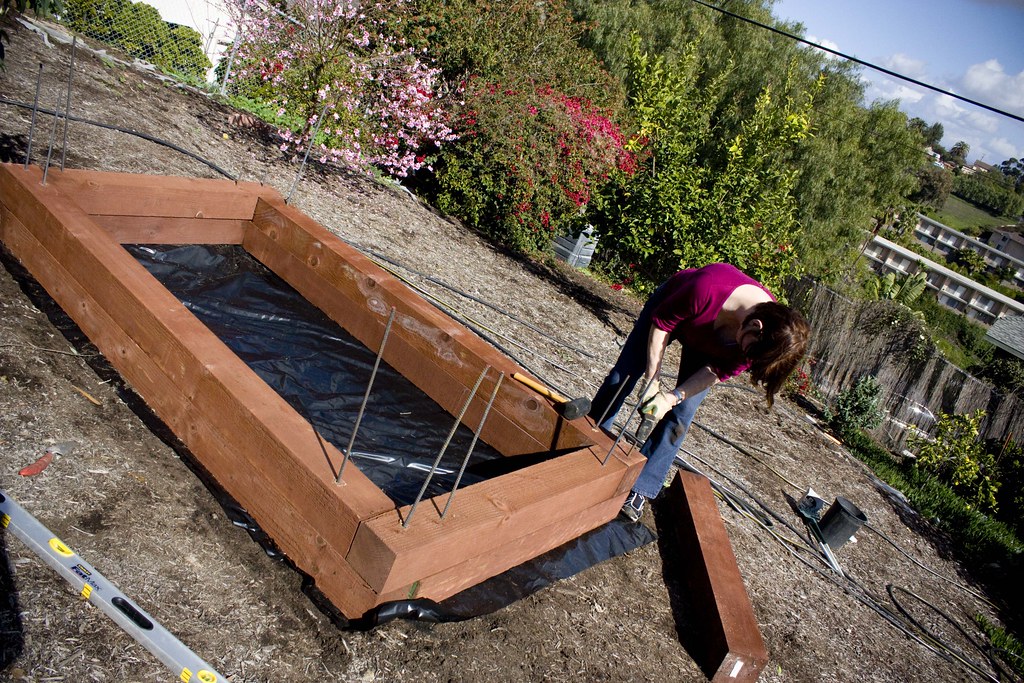
Build the bed on your nice leveled earth. When you reach the second row of boards you can set the rebar in place and hammer it into the ground until only about 3-4" is exposed. Set the final row of boards in place and go have a cold beer because you've done a good job.
Click here for Part 3 where we get the soil and plant our crops.

 Heather Walpole