Sponsors

Around the web
Popular Recipes

Entries in projects (30)

Thursday
Feb182010

Raised Vegetable Garden, Part 1

raised garden bed

Raised Vegetable Garden, Part 1

Planning your bed and leveling the earth
Finished dimensions: 102"L x 42"W x 18"H

Creating a vegetable garden in your yard can be a fun and exciting undertaking. You'll get to grow a variety of different plant and you'll also reap the benefits of eating the freshest possible foods. It can be very rewarding but also a lot of work so be sure you have the time in your schedule to tend to your garden before you build it. Take the time to plan your garden.

Choose a space in your yard that has enough sunlight to accommodate the kind of plants you want to grow. Most vegetables need about six hours of sunlight a day. Another thing to consider is water. Your veggies will need a healthy amount of water to grow and give you a good harvest. If you already have plumbed waterlines that operate in your yard, you could run a drip irrigation system to your new bed. If not, a hose works just as well but just remember to water your seedlings at least every other day and possibly more often as the summer sun begins to heat up.

Lastly, and most important for me, is garden pests. Are there a lot of squirrels, rabbits and gophers in your area? You may want to put some wire mesh at the base of your bed to stop animals from burrowing under your garden. Do you have dogs that like to dig? I have two dogs that love to run and that is the main reason this bed is 18" high. Take the time to consider your life and your yard before you rush to the store, you'll be happier in the long run that you took the time to plan the garden that works for you.

Now that you're ready to get planting, here's everything you'll need.

Supplies:
9 6x6" pressure treated lumber, 8' long
12 3' pieces of rebar
heavy black plastic
wire mesh
36 total cubic feet of soil, compost, peat moss, and manure
plants and seeds

Tools required:
circular saw
18" drill bits, 1/4" and 1/2"
tape measure
4' bubble level
rake
spade
shovel
rubber mallet
sledge hammer
scissors
staple gun

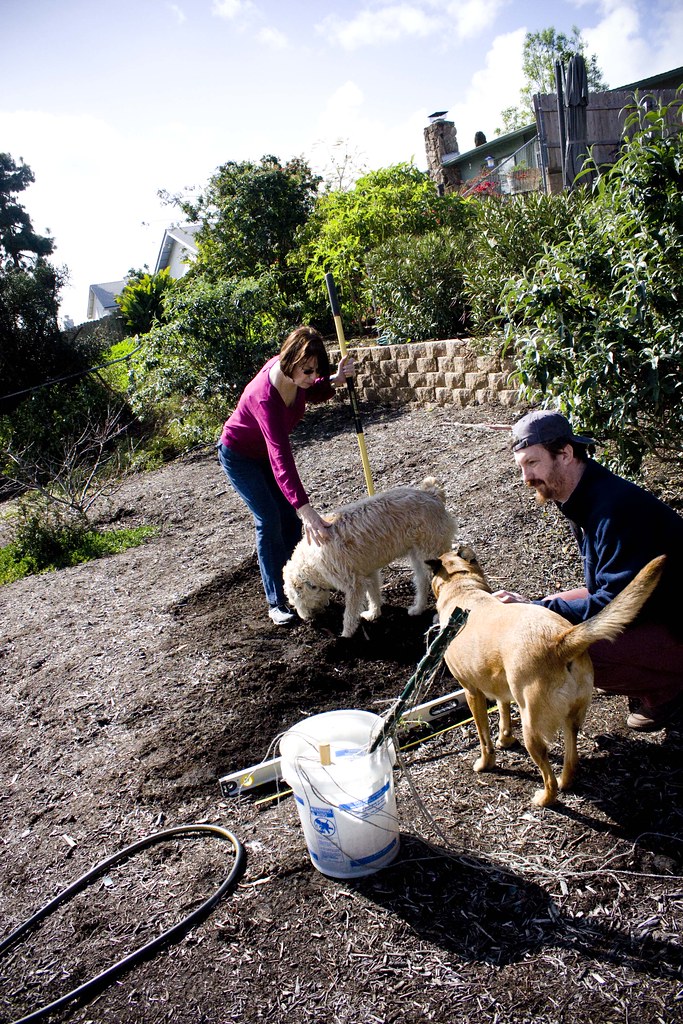
To begin the raised vegetable bed you will need to create a level space in your yard that is large enough to accommodate your new garden. We chose a fairly flat space near the bottom of our yard. We measured the space and roughly staked out the area we planned to level. Using a metal rake we and the 4' bubble level we evened out the area where the boards would eventually sit. And as you know, a job can't be done around here with out the help of two furry friends.

leveling the ground

We finished up the leveling and measured out exactly where the boards would go. It's a good idea to place your stakes in each corner then measure each edge and then measure corner to corner. This will help ensure you have a squared and even plot of land.

leveled earth

See Part 2 where we cut the boards and build the bed.

Monday
Feb152010

Veggies coming soon!

raised garden bed

At least I hope they'll be coming soon anyway. I am seriously over the moon to show you my newest endeavor. A big raised vegetable garden! I can't wait to see little seedlings peeking out of that big pile of dirt. I will be posting the whole story over the next few days, so check back to follow along!

Thursday
Dec312009

A brief review

I've been thinking that I need to spend some time to reflect over the last year to see how I've filled my time. Then I got all whiny that we didn't take a vacation in 2009 and all we did was work, but I sat down and looked through my photos and we actually did some fun stuff this year. Who knew?

1. I had a puppy party, or two, or three.

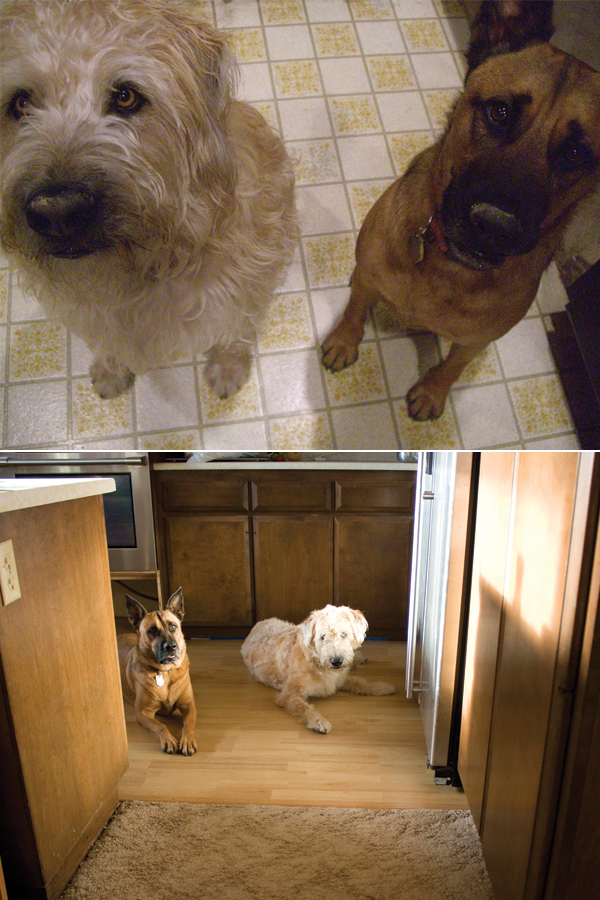
2. We replaced our very seventies kitchen floor with a new laminate floor and it was so worth it.

old floor, new floor, same dogs.

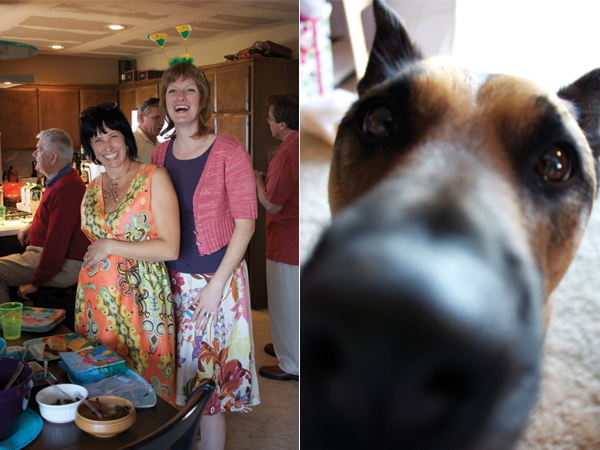
3. I gained a great sister-in-law.

my newest sister-in-law

4. I turned 30 and got a new camera.

birthday party and new camera

5. My sister came to visit, but I don't have a photo.

6. We planted a cactus garden with some really cool plants.

7. Thomas' nearly-90 year old granny came to visit us from England.

Thomas and his granny

All in all the year wasn't so bad I guess. Looking back on photos and blog posts not only helps me remember the fun things I've done but it gives me a lot to look forward to for the next year. What sort of home improvement projects will we do, what kind of work will I have, who will come visit, will I get off my butt and start the website I want? Maybe next year's December 31st post will answer some of these questions!

What about you? What are you looking forward to doing next year? Here's to a fun 2010!

Friday
Sep252009

Foggy mornings and a sneak peek

foggy and sunny

It's been a long, hot, crazy week around here. I barely even remember taking Daphne the Adorable home on Sunday. On Monday we repaired our DLP tv. It broke ten days prior and when we finally received the new color wheel there was no way Thomas was going to wait to the weekend to do THAT project. It went pretty well, we had most of the tv apart in under 20 minutes. Except for one tiny connector, the last possible thing that needed disassembling before we could put the tv back together, would not come out of the circuit board. Everything we had read about fixing the tv warned about this one connector. DO NOT PULL UP, DO NOT WIGGLE IT, DO NOT GRAB IT BY THE WIRES, DO NOT LOOK AT IT FUNNY OR ELSE IT WILL COME OFF ITS CIRCUIT BOARD AND YOUR TV WILL BE DEAD AND IT WILL BE ALL YOUR FAULT, WE WARNED YOU. So we heeded their advice and talked nicely to the connector, we massaged it and fanned it while we fed it grapes on the veranda. It didn't matter. That connector wasn't going anywhere. It was so stuck and so brittle that it didn't want to budge. Then I got angry. I mangled the hell out of that connector until it finally gave me my way. And then I could move on. And you know what? Replacing a critical part of your tv is not as bad as I thought it would be. It was actually kinda fun! (Minus, of course, that connector and the one hour of my life it stole from me.)

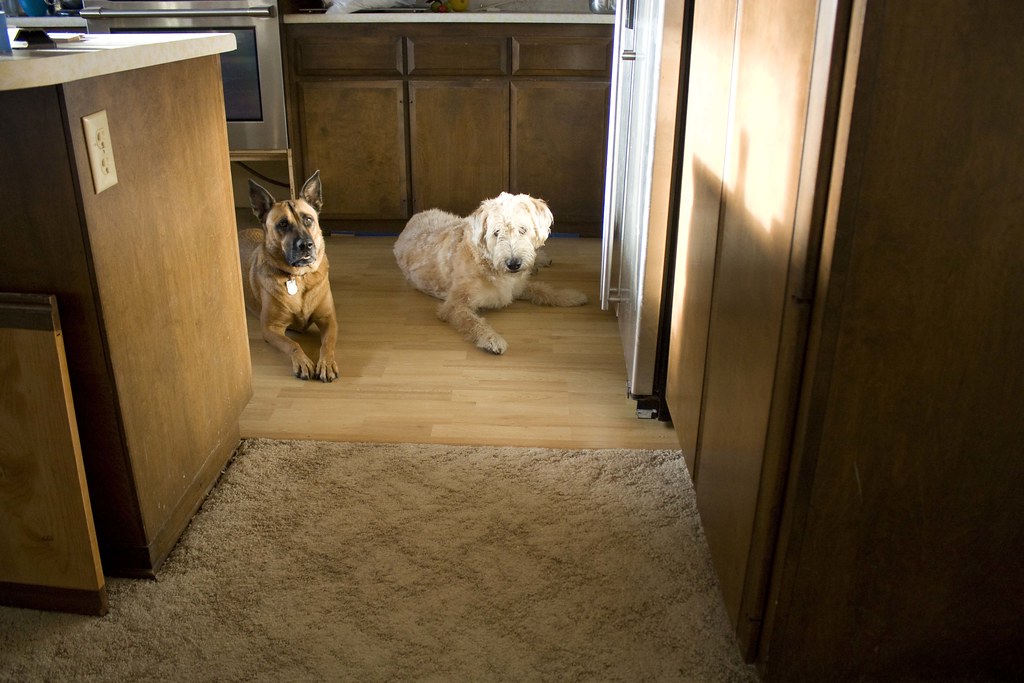
Then came Tuesday and here's a sneak peek of what megalithic DIY project we did THAT day. A new kitchen floor!

new kitchen floor sneak peek

Tuesday
Mar242009

My brain is behind the times

With a new piece of technology comes a new pile of I've-heard-about-this-in-conversation-but-I-really-have-no-idea-what-it-is-or-what-it-does-or-how-to-use-it questions.

I got a new Canon Rebel XSi digital SLR camera for my birthday but I have a serious learning curve ahead of me. I used to shoot 35mm SLR ten years ago and I kinda forget what I'm supposed to do. Yes, I remember f-stop and ISO and all that basic functionality but what about...

1. selecting the f-stop I'd like to use, it's not just a ring on the lens anymore?

2. is it easier to use the camera's presets rather than manually selecting my shot settings?

3. should I always shoot in RAW format?

4. do I edit the RAW images differently?

5. how do I use Adobe Bridge?

6. do I convert the file to a jpg to add it to flickr?

7. what other lenses should I get?

8. is my husband going to return it because I won't stop snapping pictures of him at inopportune times, ie. when he's trying to sleep?

These are my pressing questions. Maybe I'll hunt down answers and post them back on my blog, but if you can direct me to any answers for any of them I'd really appreciate it!