 Metalico Cowl {knitting pattern}
 There's A Chill in DeAire {blanket knitting pattern}
 Free: Quirky Quick Knit Scarf Knitting Pattern
 Fandago Cowl {free crochet cowl pattern}


Tuesday
Feb052008
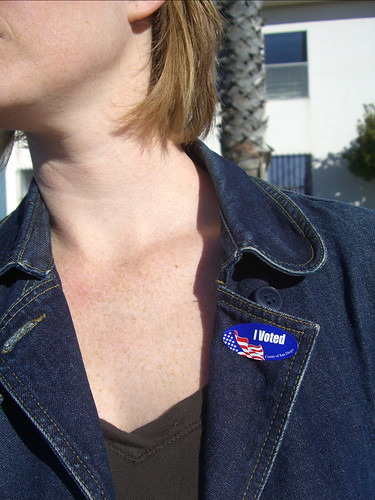
I voted
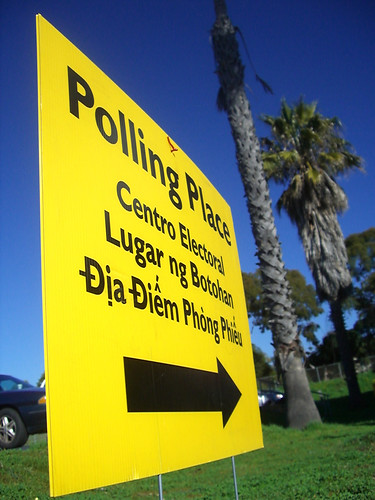
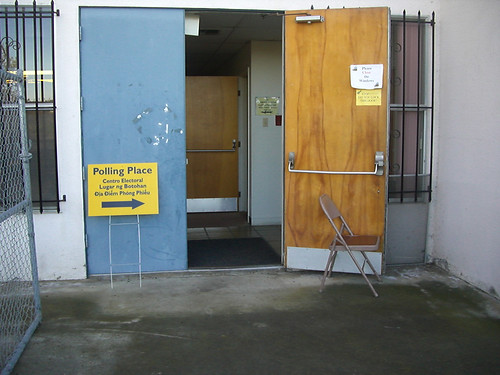
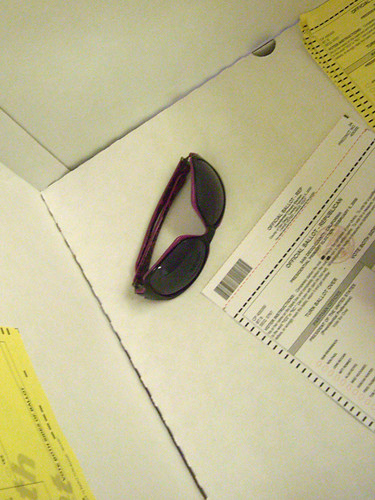
On this most super of all Tuesdays, I hit the poles. As promised I took along my camera and documented my experience for the Polling Place Photo Project.

tagged  WWHD, graphic design, news?, projects


On this most super of all Tuesdays, I hit the poles. As promised I took along my camera and documented my experience for the Polling Place Photo Project.
Heading out to vote in the primary election should be the top priority for Americans, but taking photos of your polling place should be the second priority for designers. In a campaign called Design for Democracy the AIGA - the professional association for design - is working to “demonstrate the value of design by doing valuable things.” Working with different government agencies to redesign the voting experience, the AIGA hopes to improve the interactions between US citizens and their government. Designers across the country can contribute to the cause by documenting their voting experience and submitting photos to The New York Times Polling Place Photo Project.
"The Polling Place Photo Project is a nationwide experiment in citizen journalism that encourages voters to capture, post and share photographs of this year’s primaries, caucuses and general election. By documenting local voting experiences, participants can contribute to an archive of photographs that captures the richness and complexity of voting in America."
Tomorrow is Super Tuesday and I plan to vote and document it and submit the results!
: :: ::: :: :
Polling Place Photo Project: how to participate.
Finally, after months of deciding whether to get a 'real' job or work freelance, I decided to design some business cards and give the world of freelancing a try.
Conceptually I wanted my business cards to reflect my company as a graphic design studio that focuses on print design. Whenever I begin a project I list all the things I can about a topic. So for print design, let's see, type, printing, color, ink, crop marks, color bars, printing press, ink, misprints, etc. Then I focus on combining some if not all of those things into the logo.
The colors weren't hard, black and pink. So then I started to play around with print bars and ink splots trying to see what looked best together. I tried different fonts some with serifs and some without. I even got a little crazy and did a gradient on Heather.
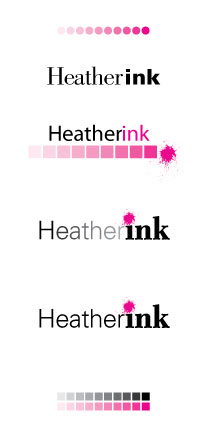
I started to see something I liked. Black type with magenta ink splatter as the dot above the "i" was really starting to grow on me.
Next came business cards. Originally I thought I wanted an over-sized card, maybe 3 inches square. They passed, but I wasn't in love with them. Something was missing, they needed more excitement.
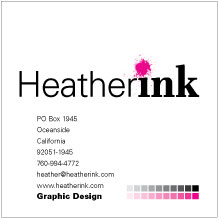
I went back and looked at my original ideas about printing and print design. What about crop marks or registration marks? What if the printer 'messed up' my cards? How would they look?
I moved it sideways, upside down, backwards. None of those ideas worked. What if the card was cut out crooked? Perfect.
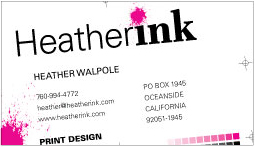
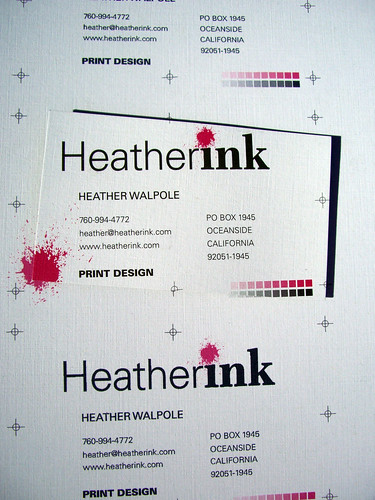
I landed some registration marks, the printer bars, an ink splot for good measure and made sure they were pretty off center.
I love them, hopefully they bring in some business!
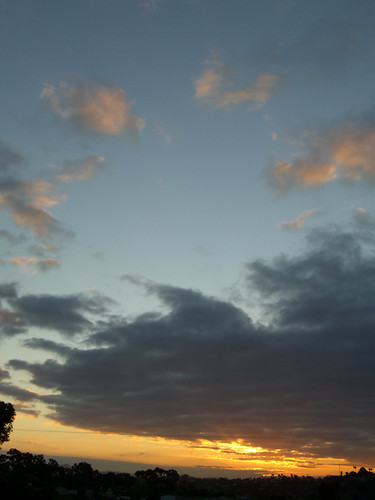
Today's sunrise was beautiful. It was foggy when I woke up, but then suddenly the sun began to appear.
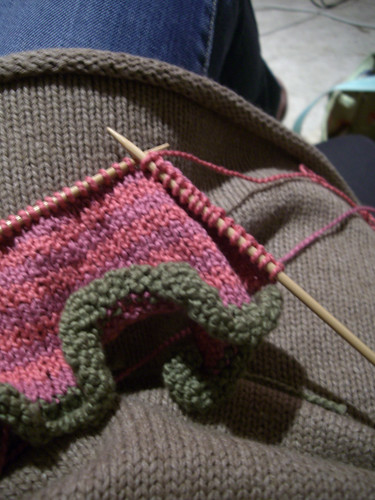
Not necessarily related to the sunrise, I've started a new sweater for a new little niece.
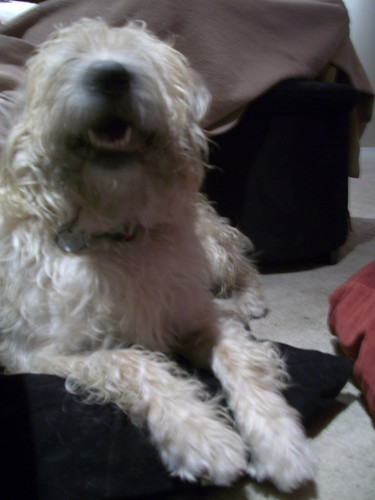
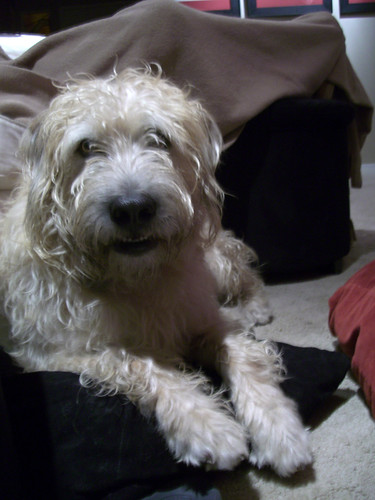
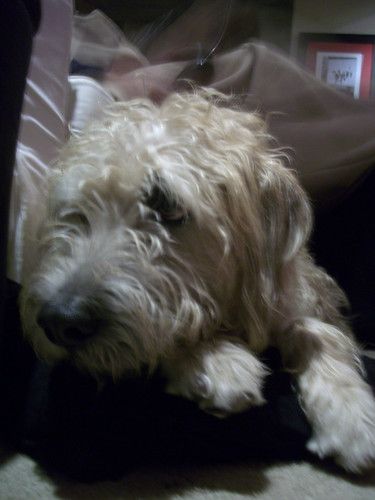
Also not related to the sunrise or to knitting, here's some pictures of Henry being lovable. He's like an amazingly adorable, gigantic teddy bear. I could stare at him all day.
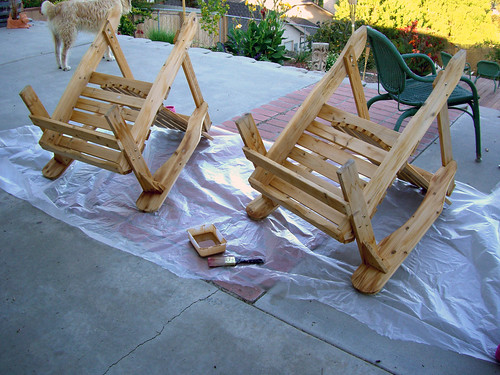
Not the most challenging project I've ever done, but fun nonetheless. I have four plain pine chairs, and I thought it would be best to stain them before the (admittiedly pathetic) winter comes. A nice coat of sealant will keep them in good condition.
Before I started staining the chairs I grabbed some sandpaper, because when pine gets wet the woodgrain rises and roughens. To keep the chairs feeling nice I sanded the grain of the chair arms back to smooth. Next I laid out plastic and gathered my supplies including the chairs. It shouldn't take more than a gallon of stain to finish all four chairs. I chose a tinted sealant in hopes if mimicing the color of our ipe deckwood. I found an old plastic container and a decent paintbrush, decanted some sealant and got started. I figured that beginning with the chairs upsidedown I could later fix any drips or blemishes.
I didn't realize how many nooks and crannies adirondack chairs contain. Just when I thought I had finished the underside, I would spot a bare patch on the side of a slat. The project is going to take me longer than I originally anticpated, but that's alright because I like how it's looking!
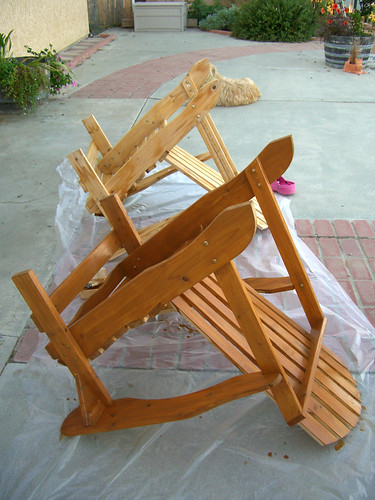
I will post final photos when I get them all done.